
Explo Integration
This page describes how to configure and use Explo with Rockset.
Introduction
Explo offers a user-friendly interface for building interactive dashboards and data applications. Leverage Explo Dashboards to integrate analytics directly into your web portal or application and take advantage of the Explo Report Builder to provide self-service reporting tools to your customers.
[NEW] One-Click Integration
If you do not have an existing Explo account under your Rockset email address, you can use the Explo one-click integration to quickly set up an account.
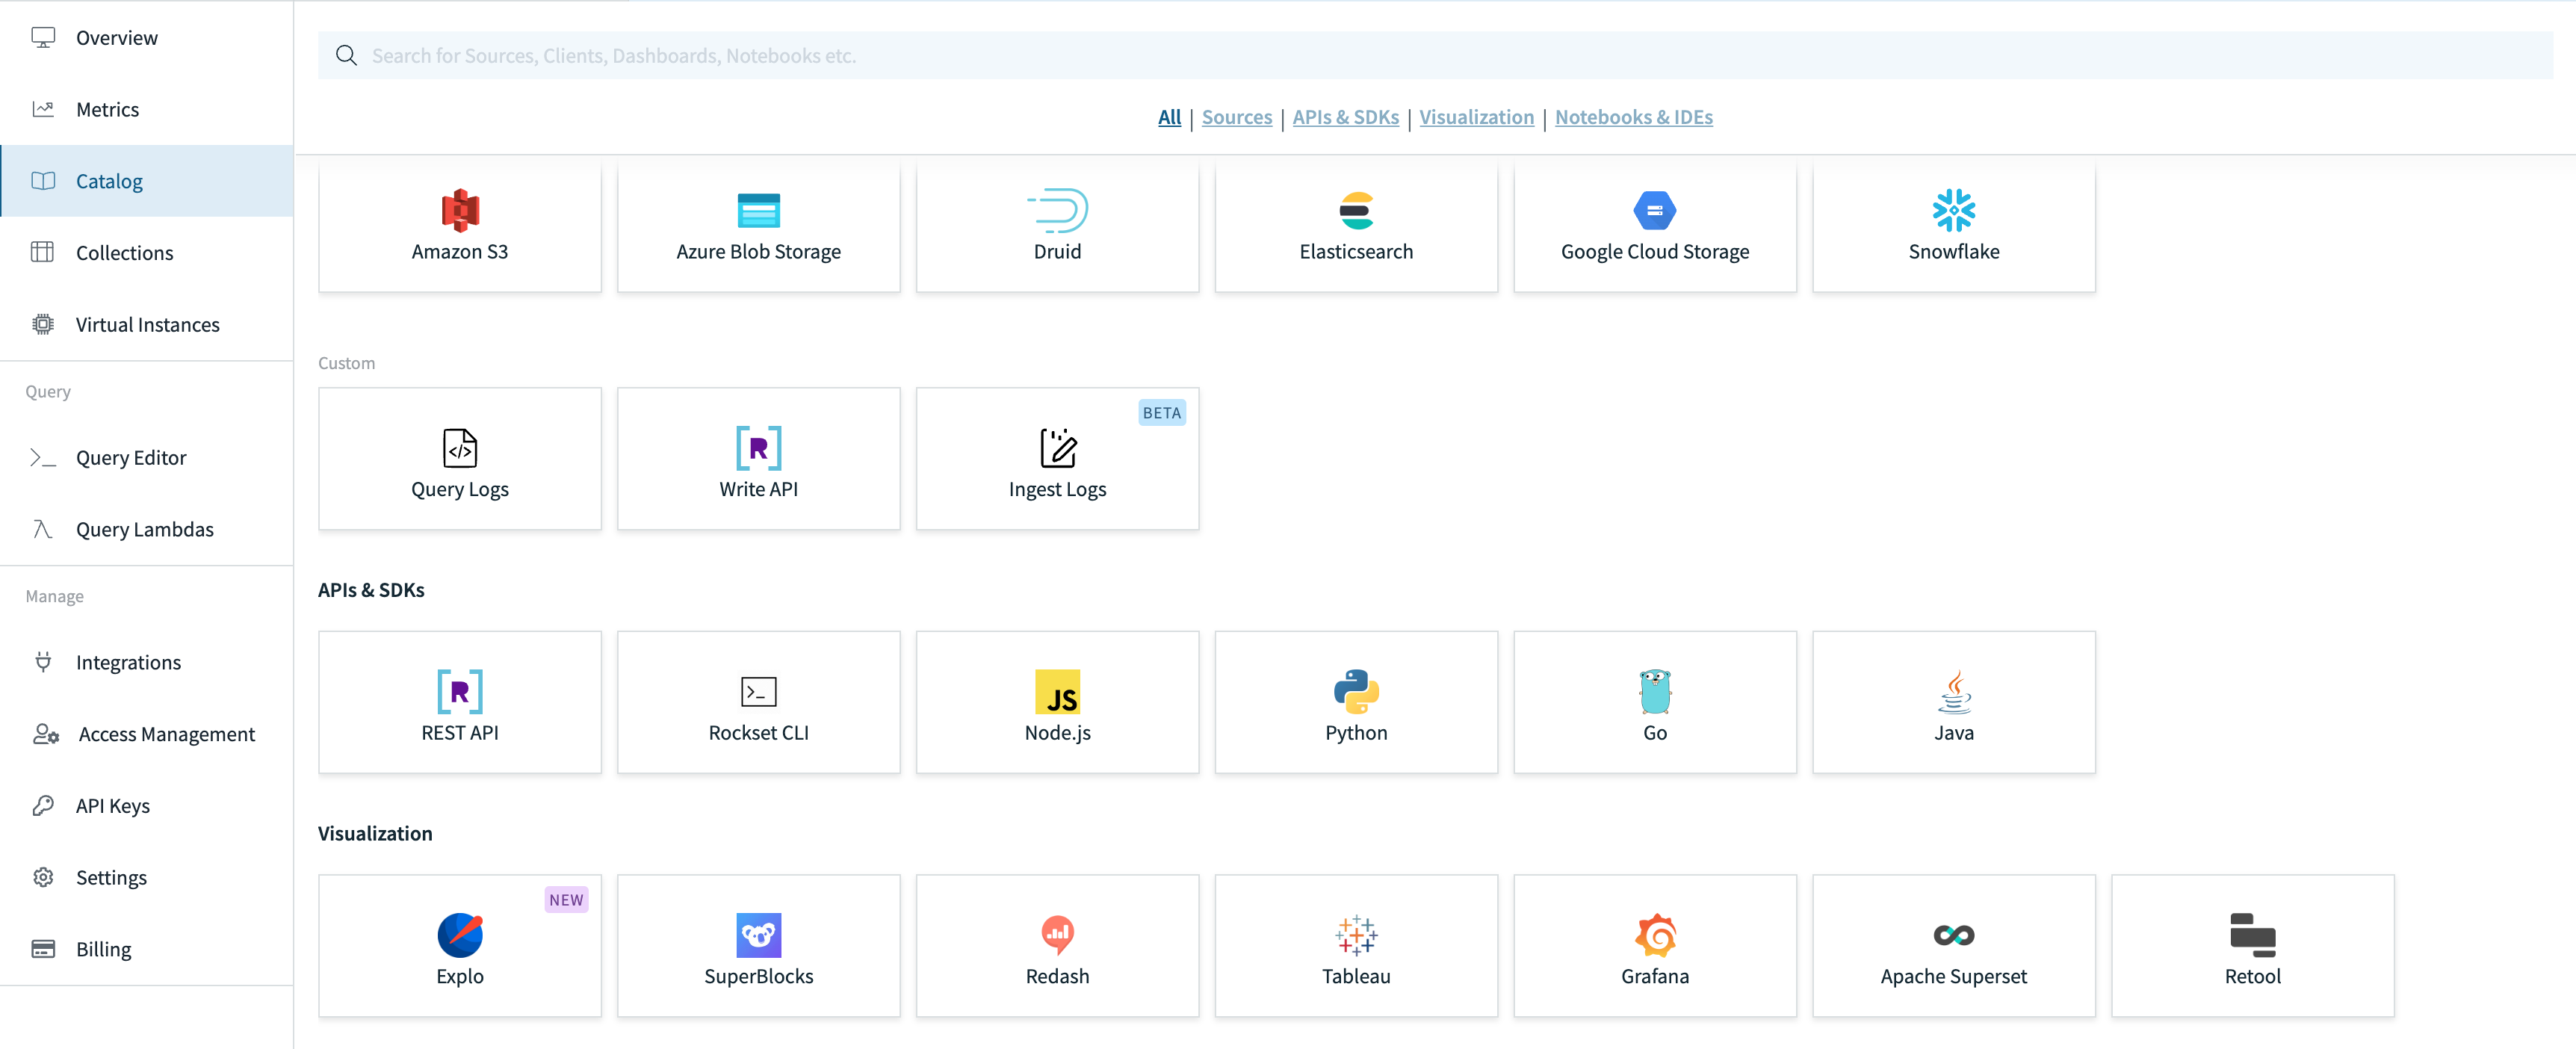
- Navigate to the Explo page in the Catalog under "Visualization".
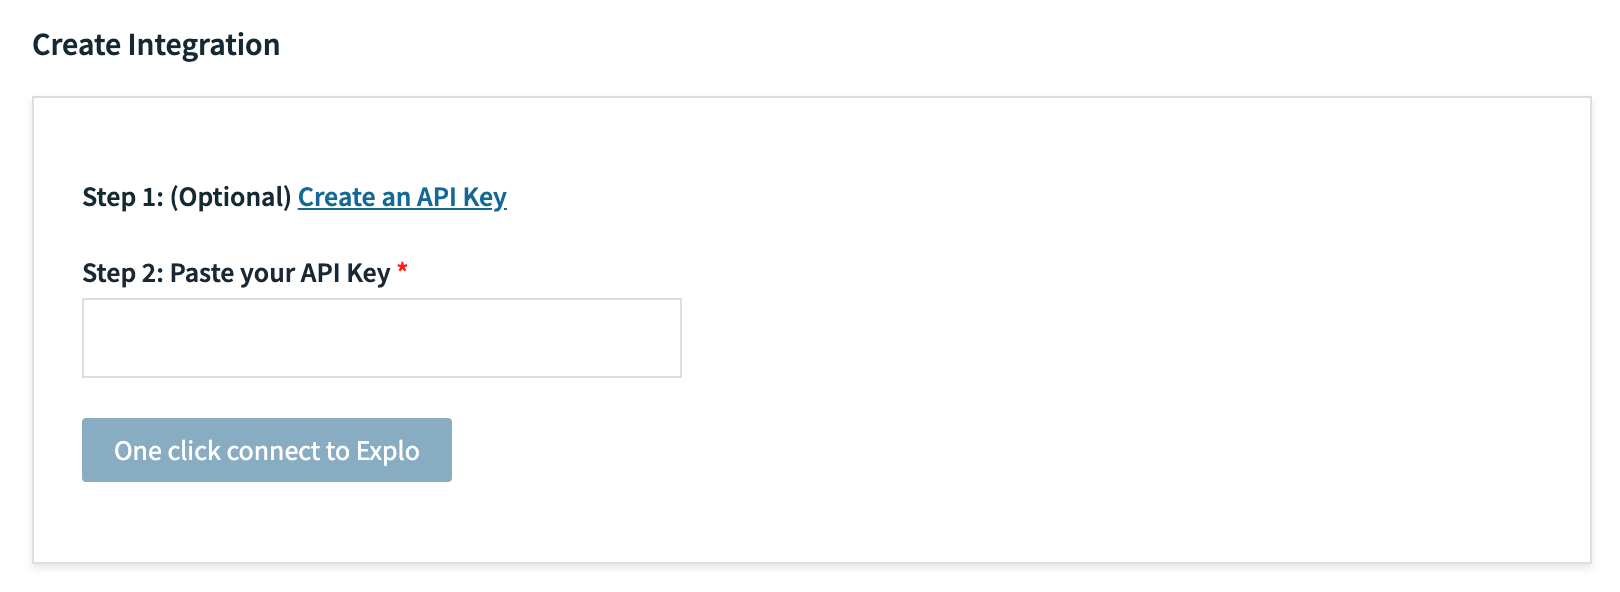
- Create an integration by either creating a new API key or inputting an existing API key. The API key must have at least the privileges associated with a read-only role.
- Once you connect, you will receive an email from Explo with next steps on setting up your account.
[Previous] Manual Setup
Before starting you will need to sign up for an Explo account.
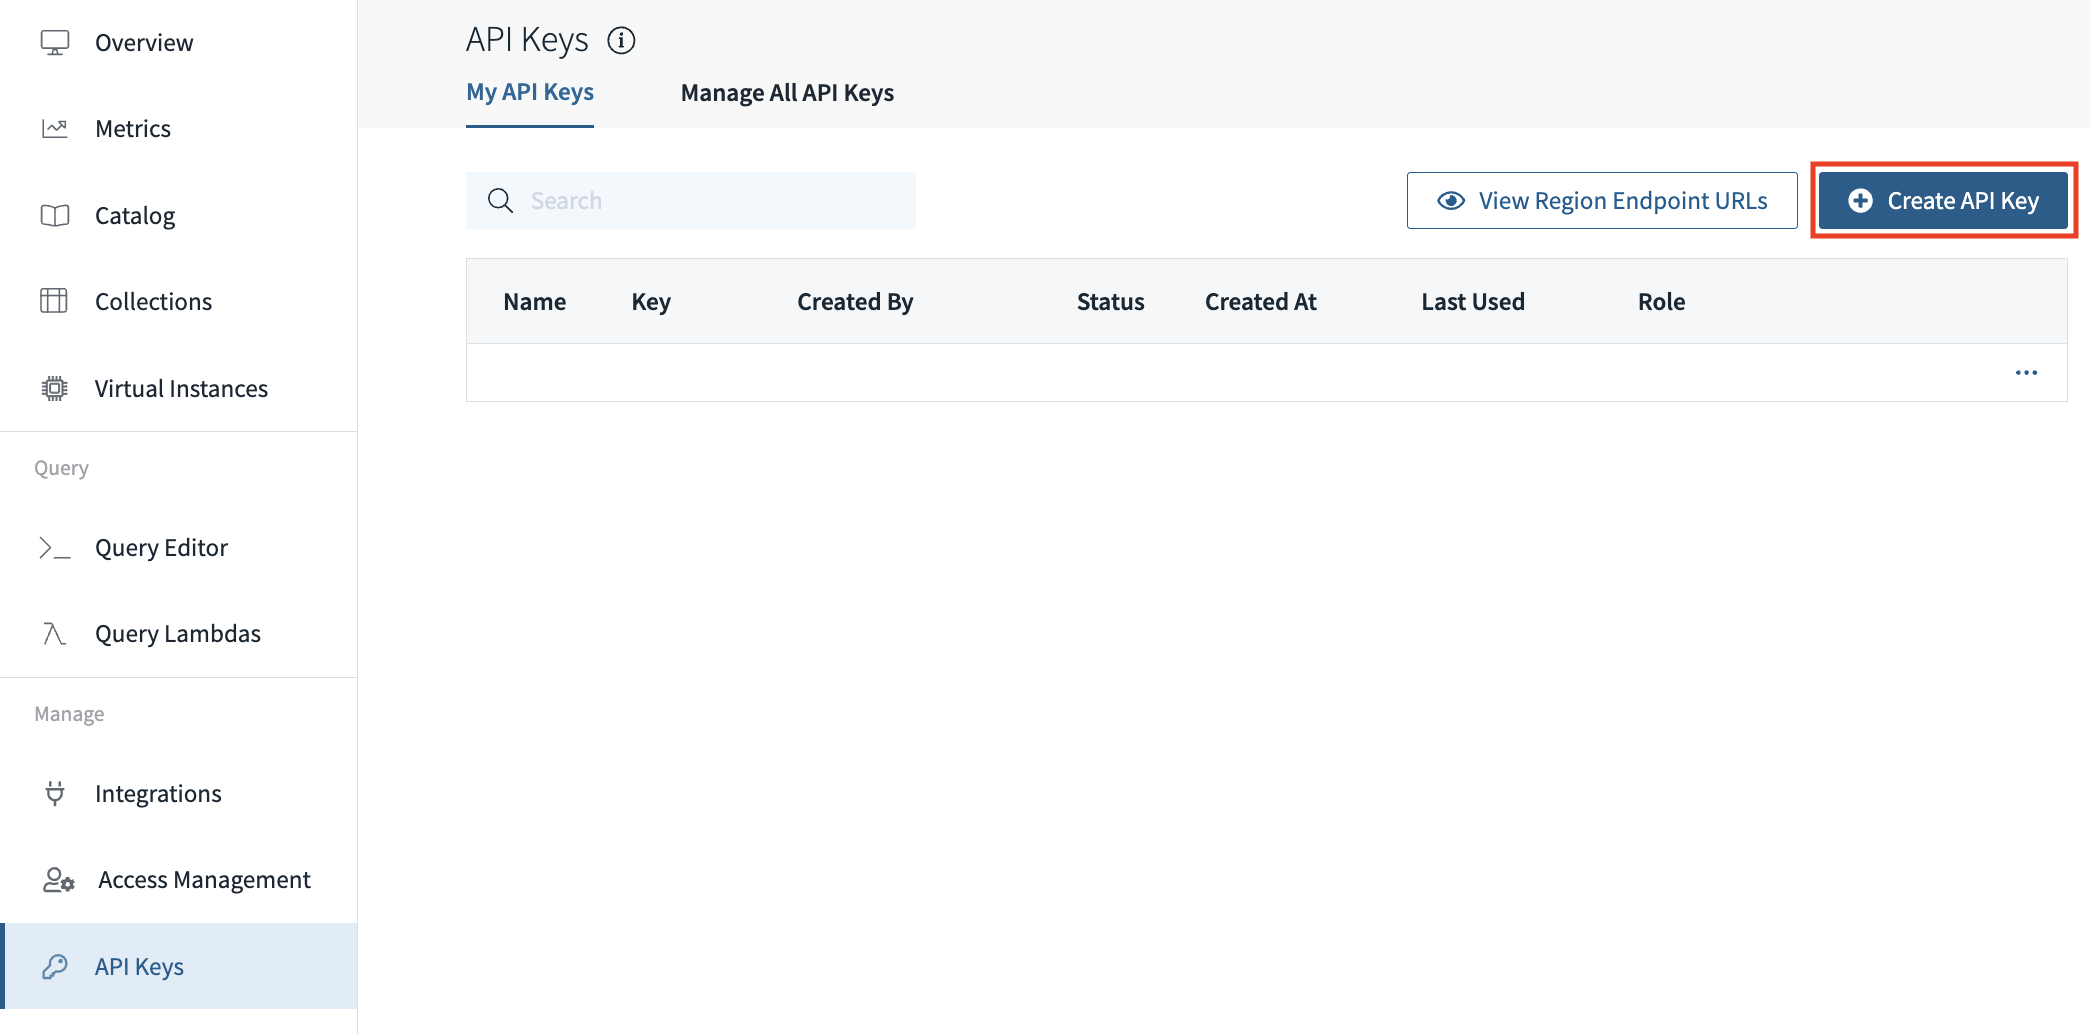
- Get credentials from Rockset. Create and save a new API Key by navigating to the API Keys tab of the Rockset Console.
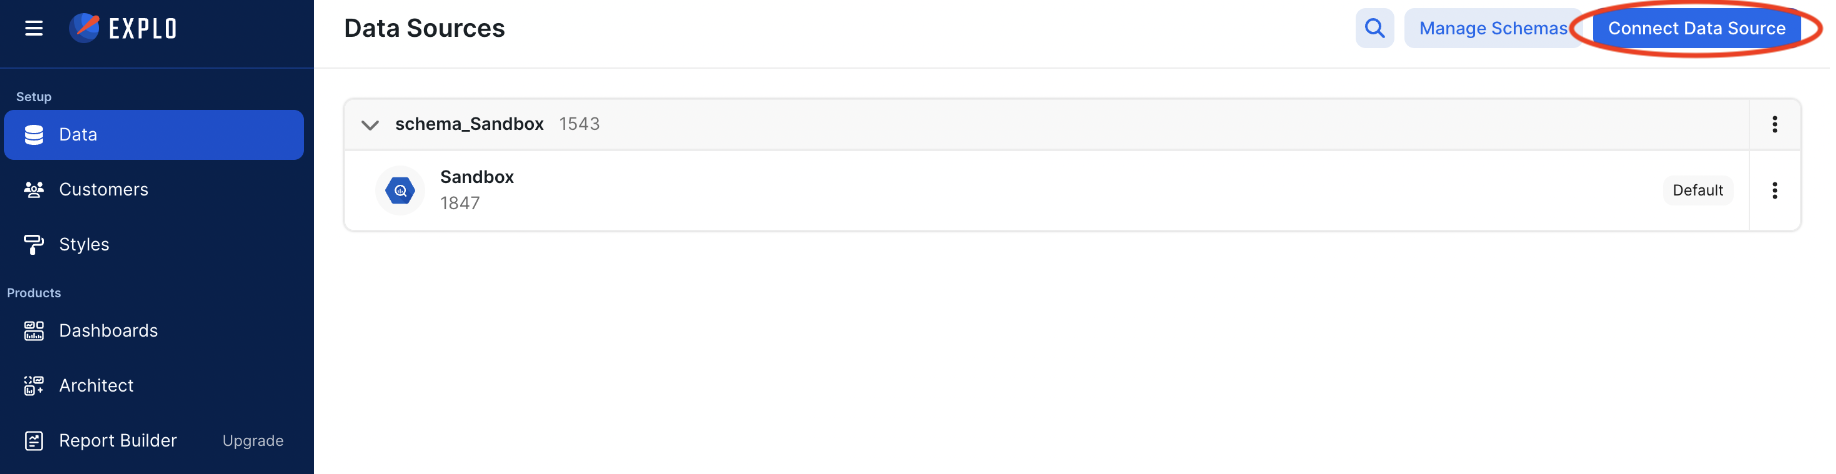
- Establish a connection from Rockset to Explo. In the Explo dashboard, go to the 'Data' tab and choose 'Connect Data Source'. Choose 'Rockset' as your database, fill in your Rockset credentials and establish the connection.
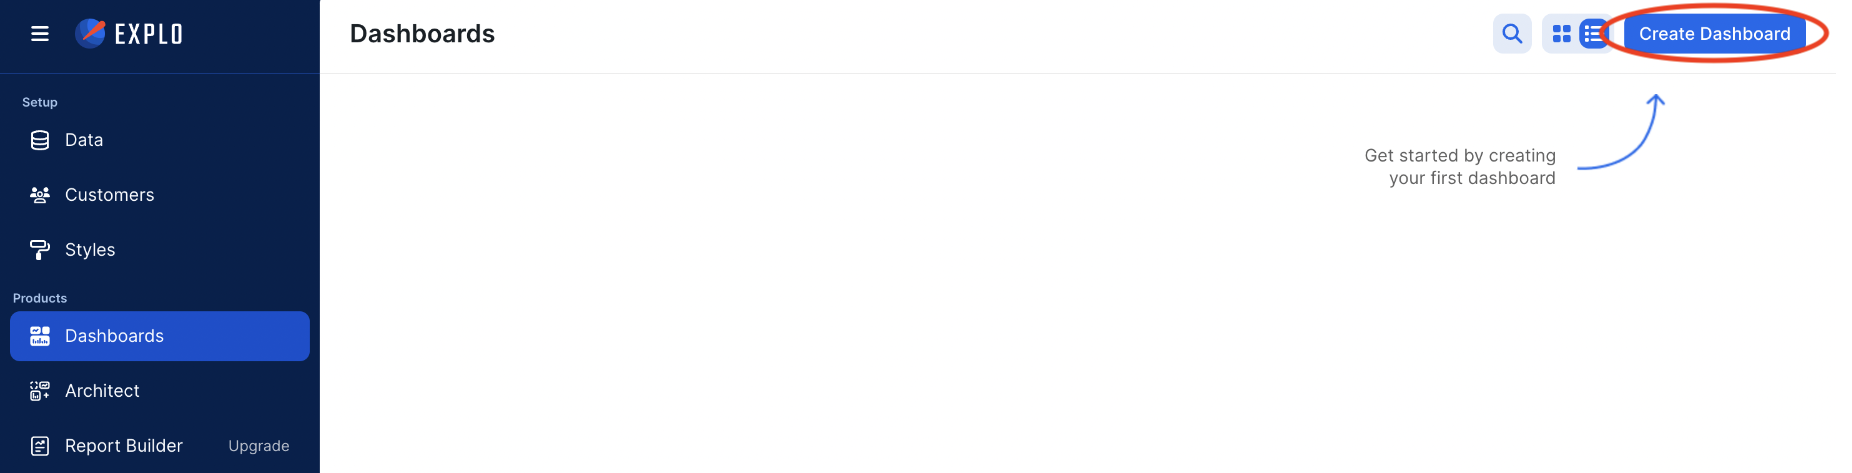
- Create a new dashboard in Explo. Navigate to the 'Dashboards' tab in Explo and click 'Create Dashboard'.
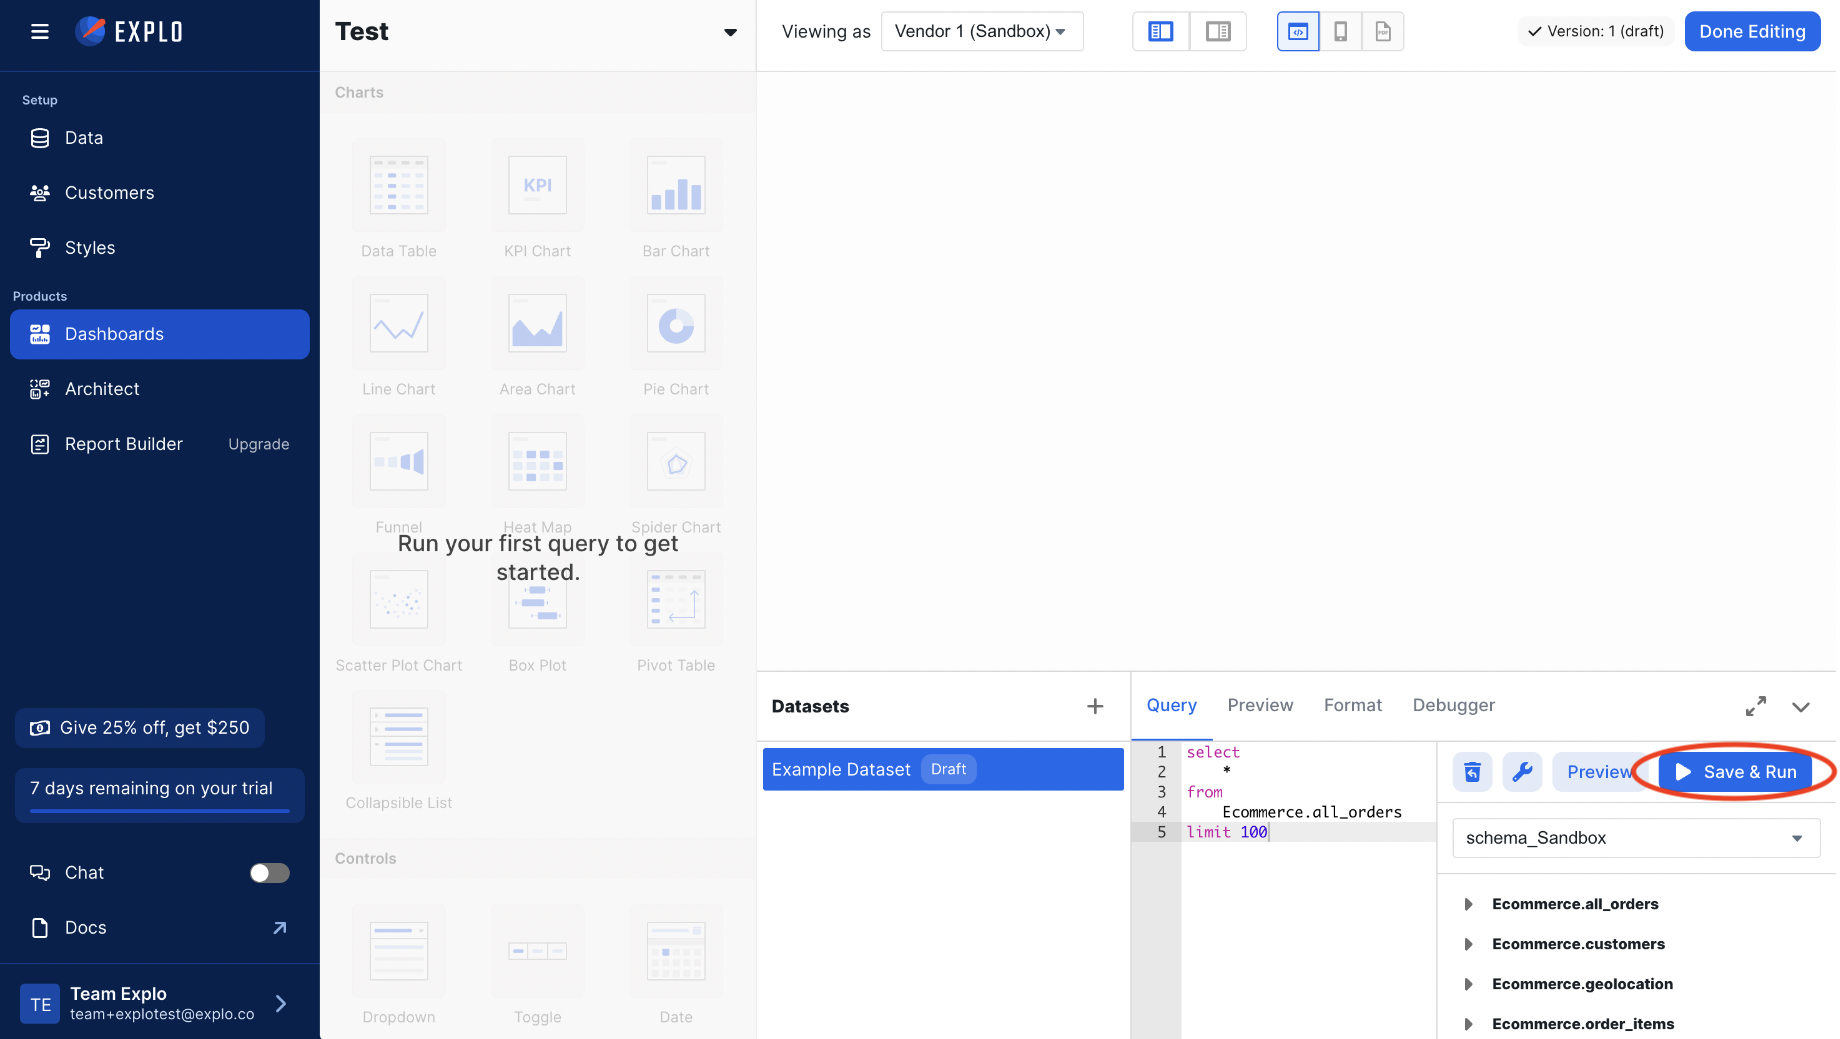
- Write SQL to access data in Rockset. In the dashboard, start writing SQL to access your Rockset Collections. Click 'Save and Run' to see a sample of your data.
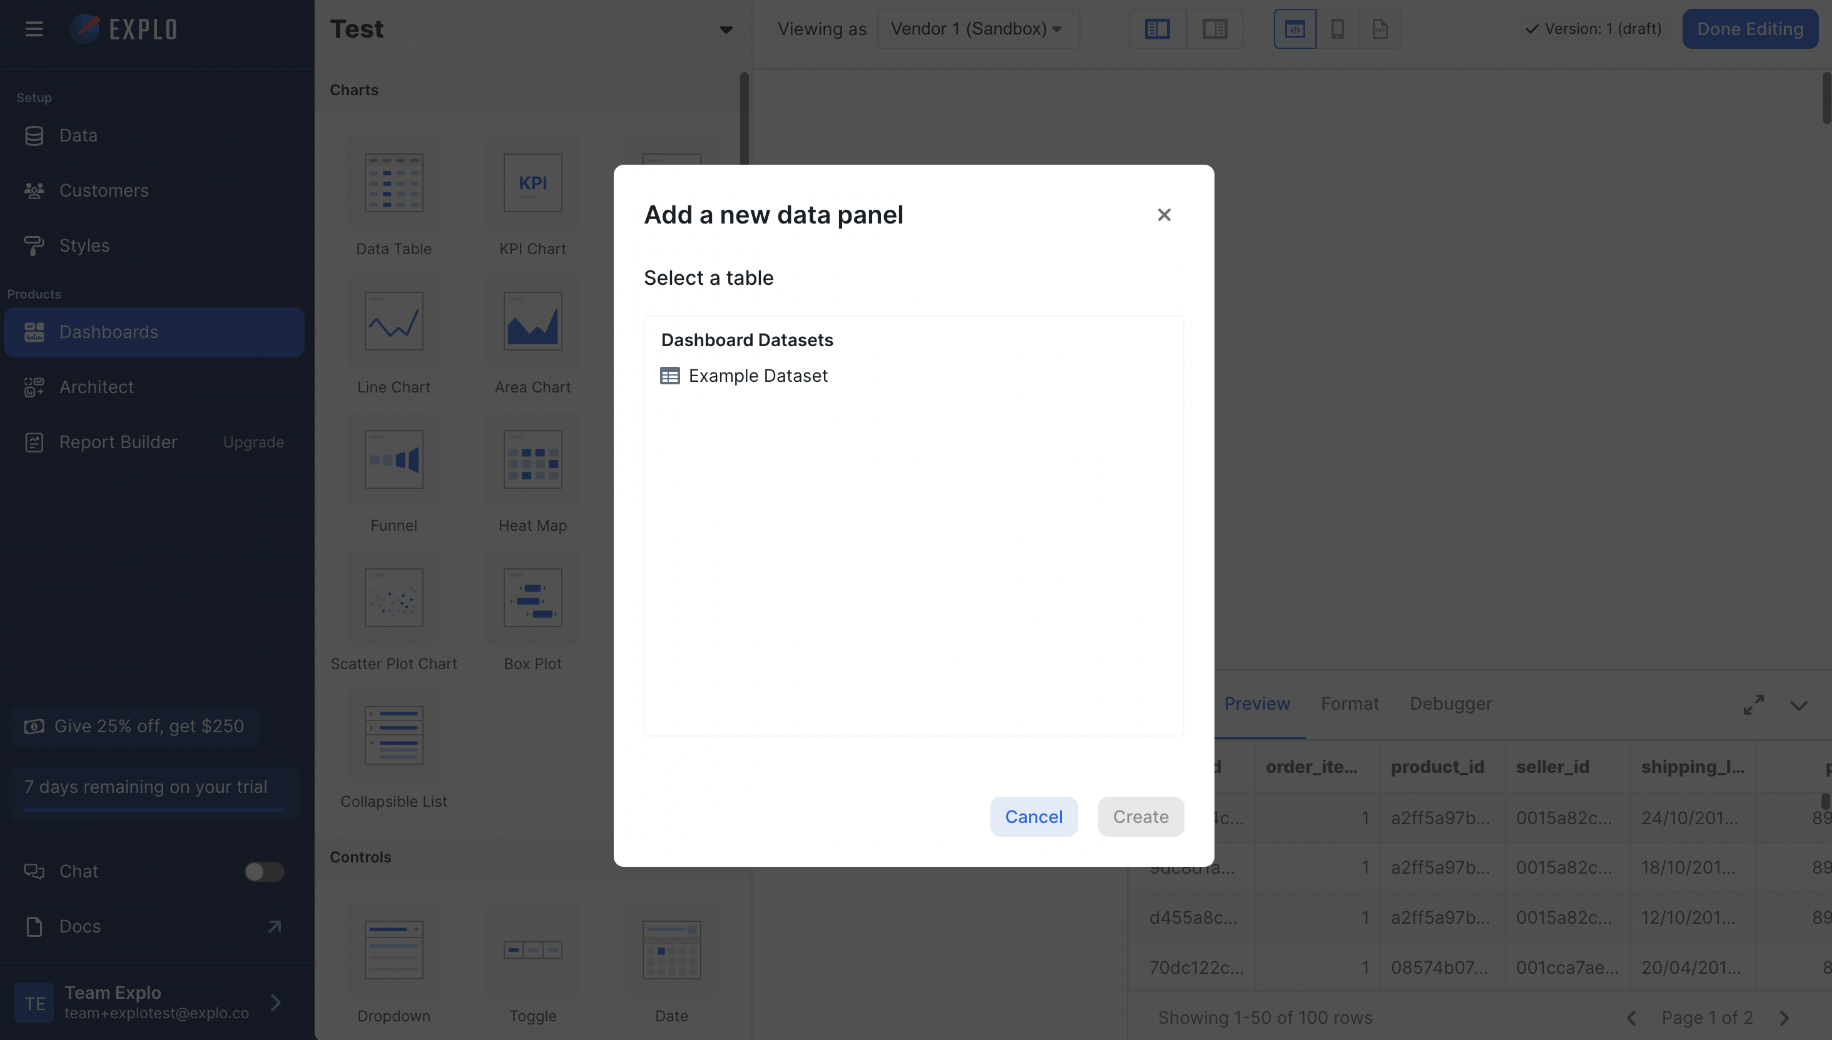
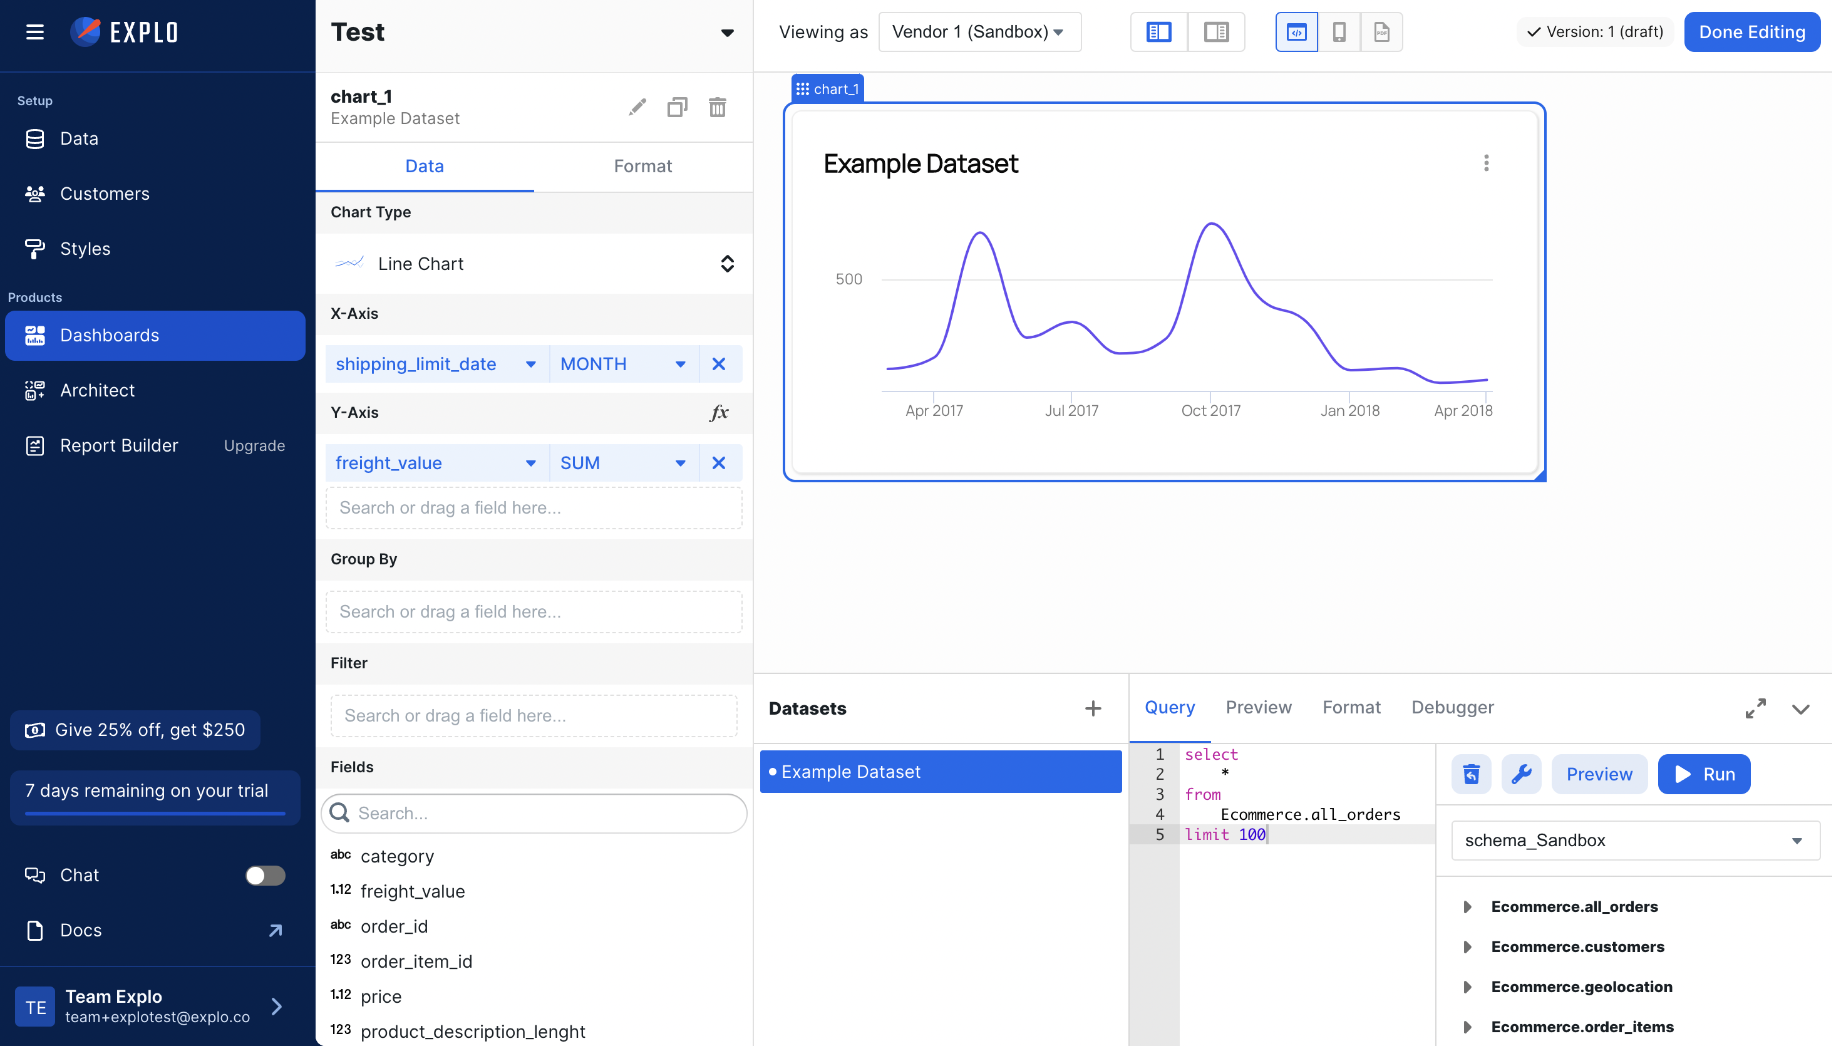
- Visualize your data with charts in Explo. Under 'Charts', select the chart style. Select the dataset, define the x- and y-axis, and watch as you generate visuals in Explo from your Rockset data.
- Embed the dashboard in your application. In Explo, select 'Embed' and then follow the on-screen instructions.

Updated about 1 year ago